I like to cook. I love finding recipes off the internet and revising them to fit my needs. Because of this I have tons of scrap pieces of paper and notes and no real 'go to' cookbook. All those notes and scraps were held inside a beat up composition notebook and I had to flip through the pages every time to find exactly what I needed.
I had enough. It was too messy. And I also realized I would be the only one to know where to find the recipe and how to make it. So I made my own family cookbook. It's cheap, easy, can make a great gift or a hand me down in your own family.
Family Cookbook Project

Grab a pile of recipes that you love.
Open up your favorite word processing software. I chose Microsoft Word so all of these instructions will be for that program.
Adjust the page layout and margins you want first. I chose to have mine in landscape format with narrow margins. This allows a nice area for a border and lots of space for recipes.

Add your own nice border by using this simple trick I learned from a friend at work.
-Go to Page Layout
-In the third box over select Page Borders
-Click the Art line and select the artwork you wish to use as a border.
In this section you can change which part of the page gets the border, how wide, etc.
- Select Ok

Then add your text to the first page. This is where I put my title.
You can add a picture in here as well. I chose to use clipart for my cookbook but you can also use photographs of the food or of your family cooking.
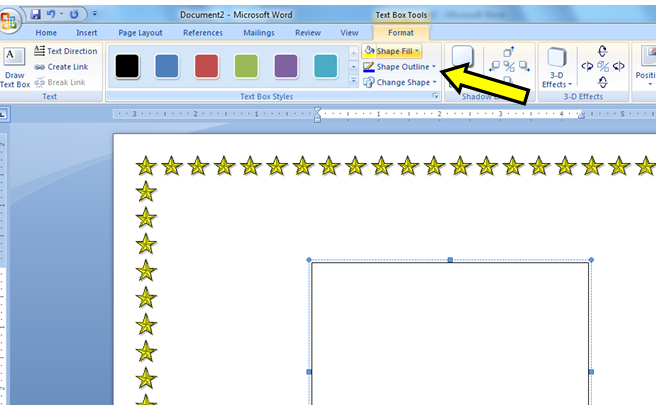 Since I'm weird, I draw and use text boxes for everything. I like that I
can move them all over to change the page's appearance but it won't mess
up the whole document's text formatting.
Since I'm weird, I draw and use text boxes for everything. I like that I
can move them all over to change the page's appearance but it won't mess
up the whole document's text formatting.If you use text boxes like me you can remove the outline and the fill color making it invisible. Removing the fill is a good idea if you plan on using colored paper. A white box on a pink page might not be your vision.
* Optional* Add page numbers using the footer option. I chose not to since I plan on adding more later.

Using text boxes to set up the page the way you want. Looks orderly!
Once you have all the recipes you would like SAVE and review your document. Just to be sure nothing ended up in the wrong spot.Print out your cookbook.
Print out your cover page on a heavier paper, like card stock for extra strength. I printed the recipe pages on regular old copy paper.
You have many option for finishing off your cookbook. You can use sheet protectors and insert it into a 3 ring binder if you want to save it form spills or you can go get it bound at an office printing store. Most stores can bind it for around $5 or under.

I chose to get mine bound using a plastic comb binding and have a clear cover and vinyl backing put on the back. I chose the plastic comb binding because I can flip it open easily and it will lay flat. I also like that I can add pages later on if I like.

If you make this project please send me a link to share your finished product. I'd love to see it!
No comments:
Post a Comment